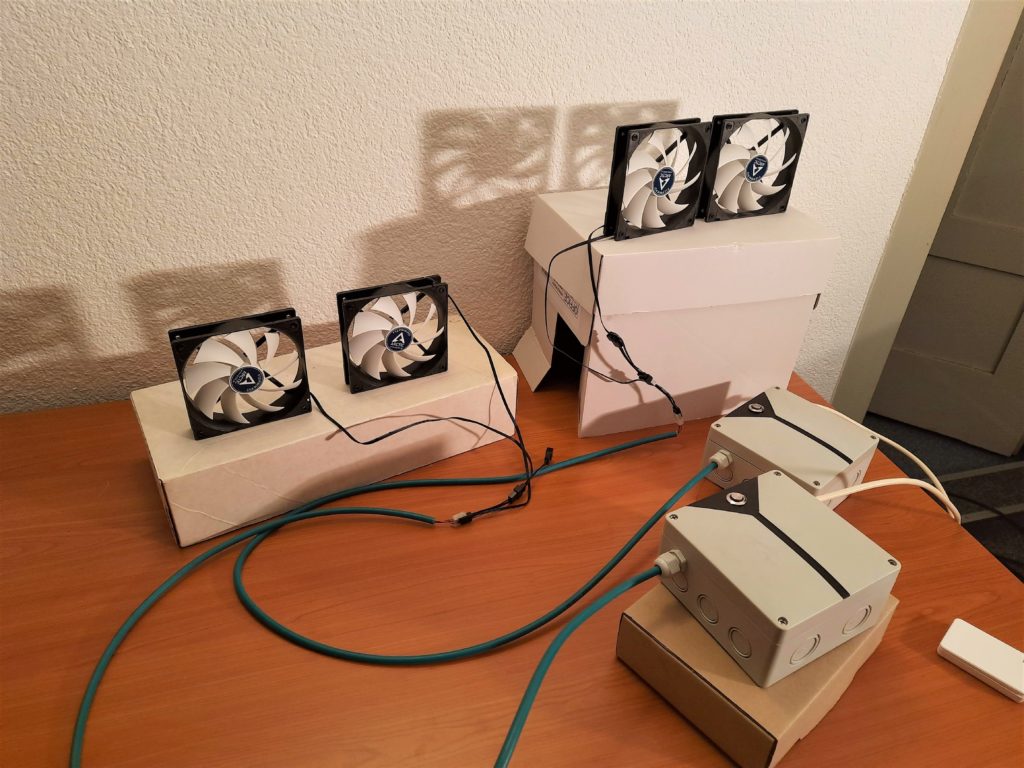
I show you how I build a pretty simple control unit for a fan, which should circulate the air around a heater. I used an Arduino Nano V3.0 as a microcontroller together with two CPUs fans.
Requirements
The fan shall turn on via a push-button mounted on a wall on the opposite side of the room. There why the push-button has to be somehow wireless. I decided to use a pre-built combination of a WiFi/433MHz sender and receiver switch.
In parallel to the wireless switch there should also be a pushbutton directly attached to the control unit.
The fan shall run for 30 minutes at 100% rpm and then reduce to a lower rate for a longer duration. This lower rate and duration shall be easily adjustable without reprogramming the control unit. I included therefore three jumpers on the PCB to be able to adjust the settings in 8 different steps.

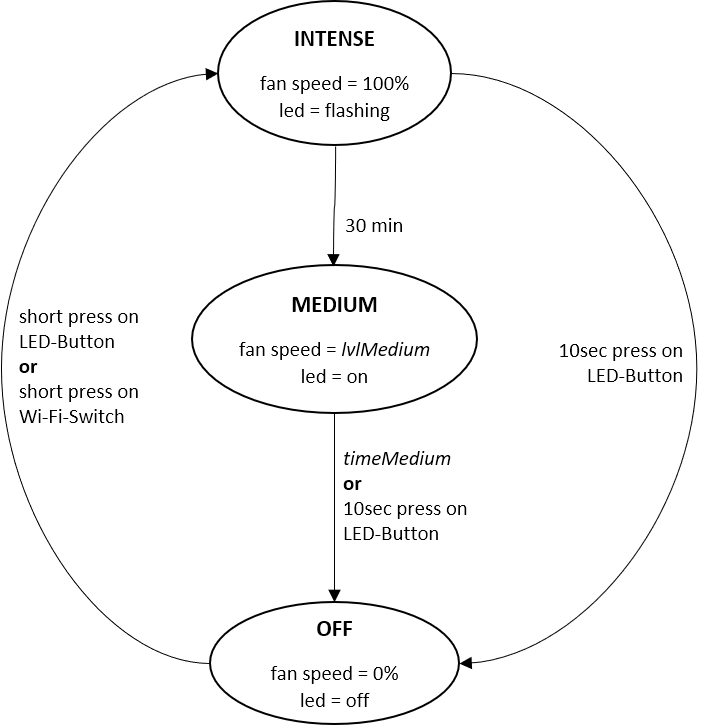
The state of the control unit should be indicated with a LED: INTENSE = led flashing, MEDIUM = led on, OFF = led off.
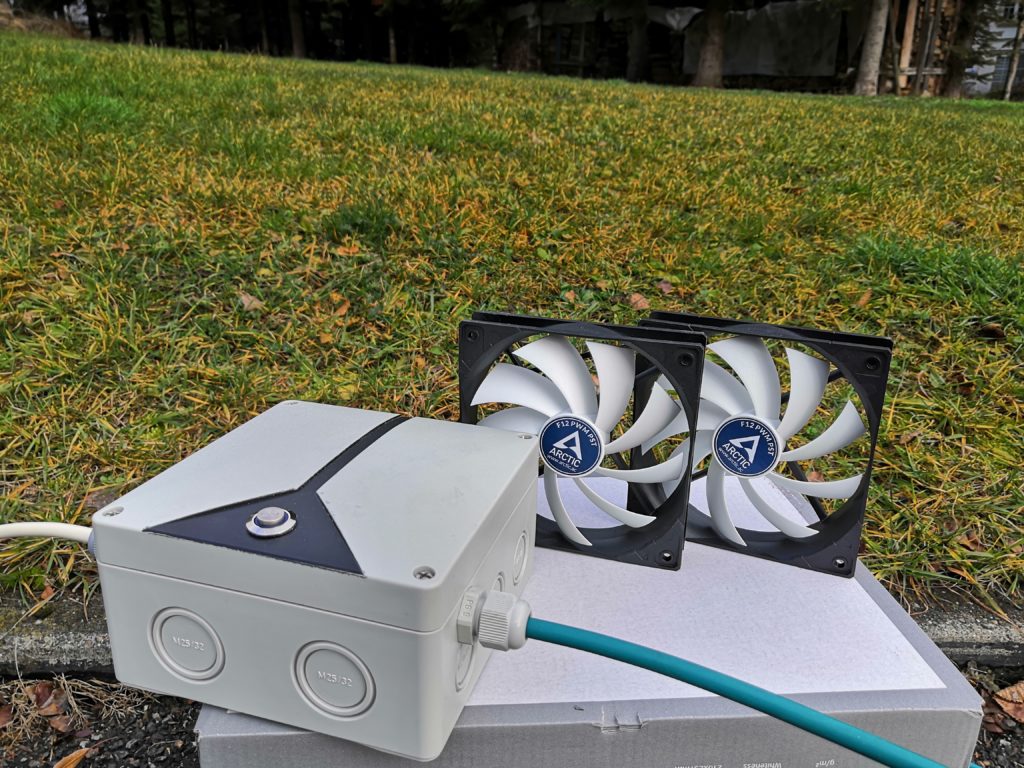
As the control unit is located near a heater it should handle a dusty environment with temperatures at around 60°C. I used there why an industry IP65 housing.
State diagram
As mentioned above we have three different states in the control unit:
Electric components
This are all the electric components I used in this project:
- 1x Arduino Nano V3.0
- 2x Arctic Fan F12 PWM PST
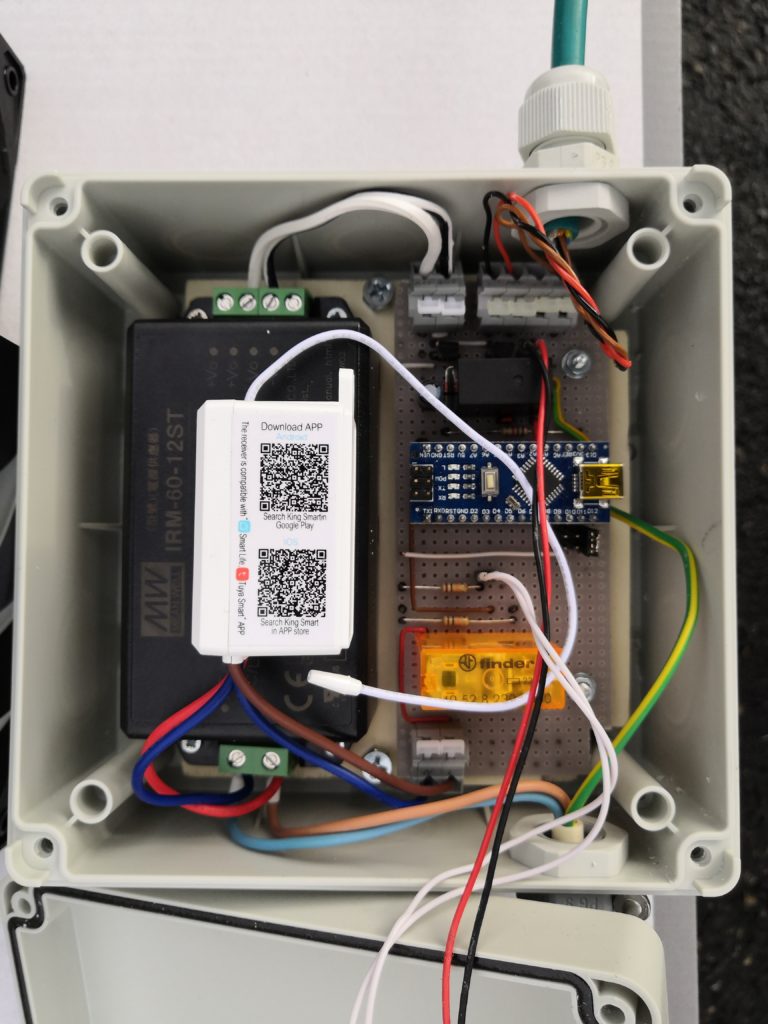
- 1x power supply MEANWELL IRM-60-12ST, 12 V-/5 A, 60 W
- 2x PCB terminal clamp SUPU 256302, 2-pole, RM 5, 16 A/250 V
- 1x PCB terminal clamp SUPU 256304, 4-pole, RM 5, 16 A/250 V
- 1x Relay SANYOU SJE-S-105L-F, 5 V-, 1 Wechsler
- 1x Relay Finder F4052-AC230, 250 V~/8 A, 2 Wechsler
- 1x diode 1N4148
- 2x 15pin female header
- 2x transistor BC337
- 2x resistor 1k
- 2x resistor 10k
- 1x ELKO 100uF
- 1x pushbutton with LED blue 12 V, Ø16 mm, 5 A/48 V
- 1x Vabaso Funk Lichtschalter Set, Funkschalter mit Mini 2,4GHz WIFI&433M Empfänger
Electric schematic
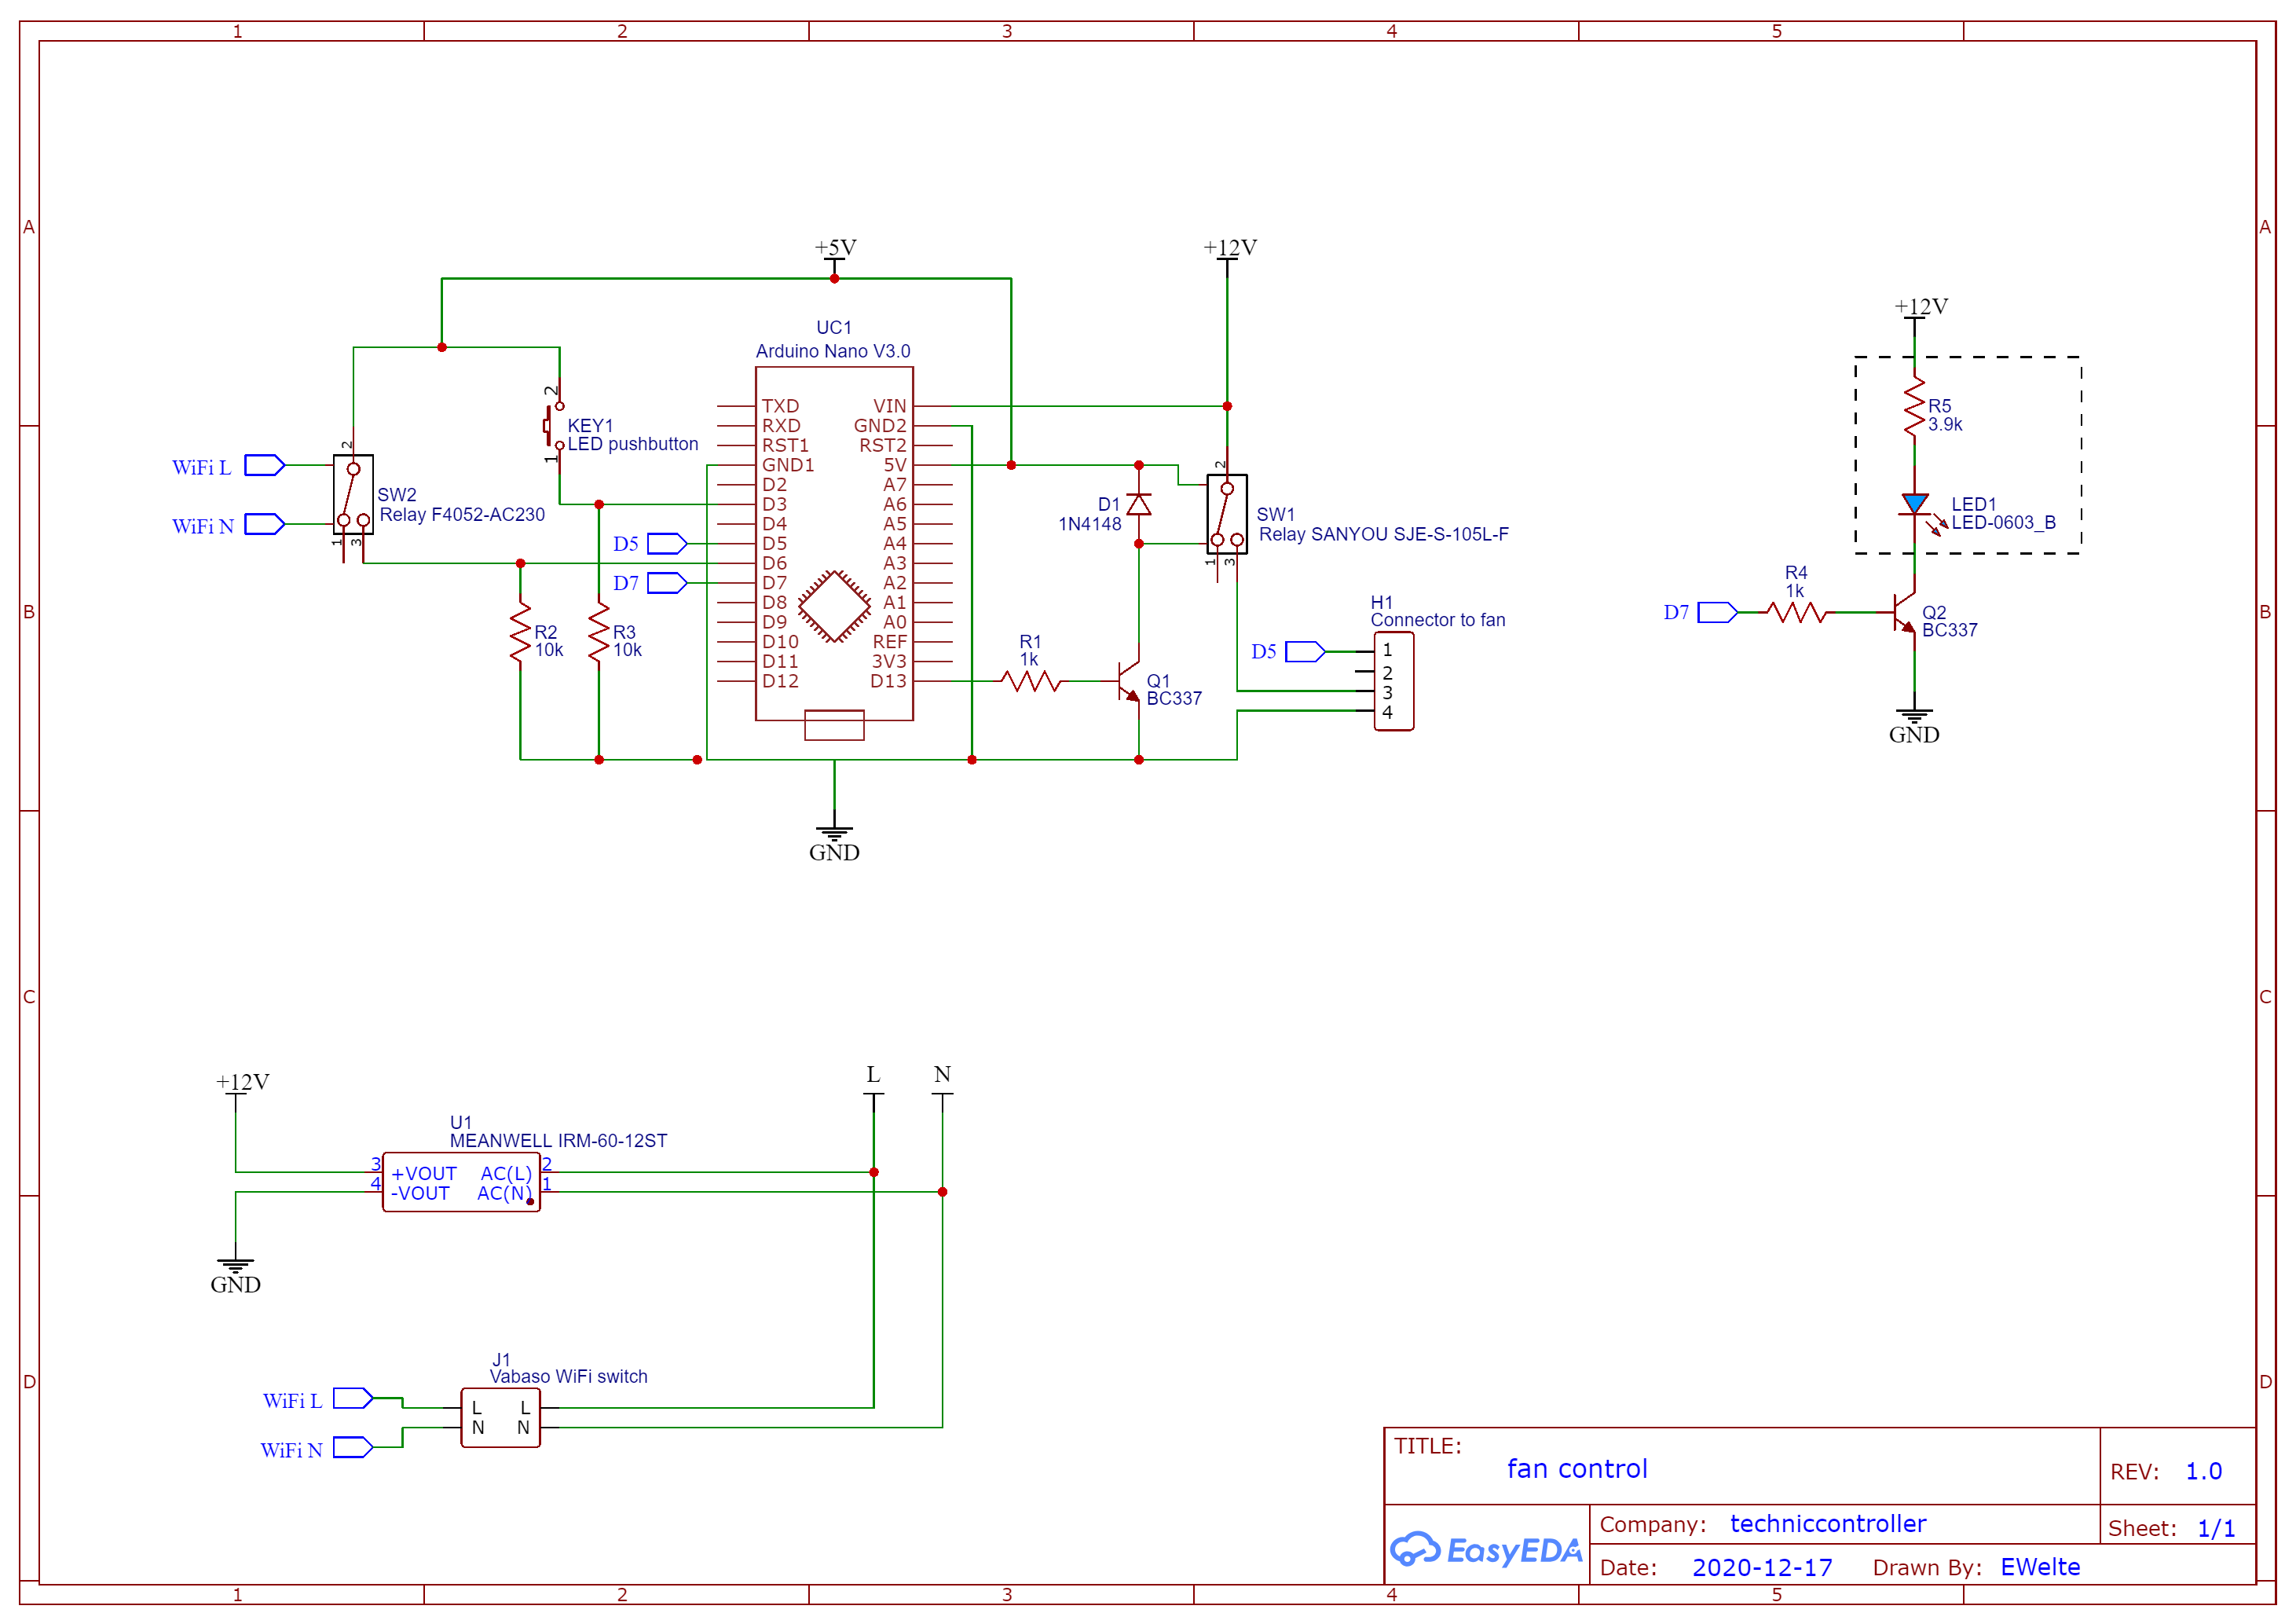
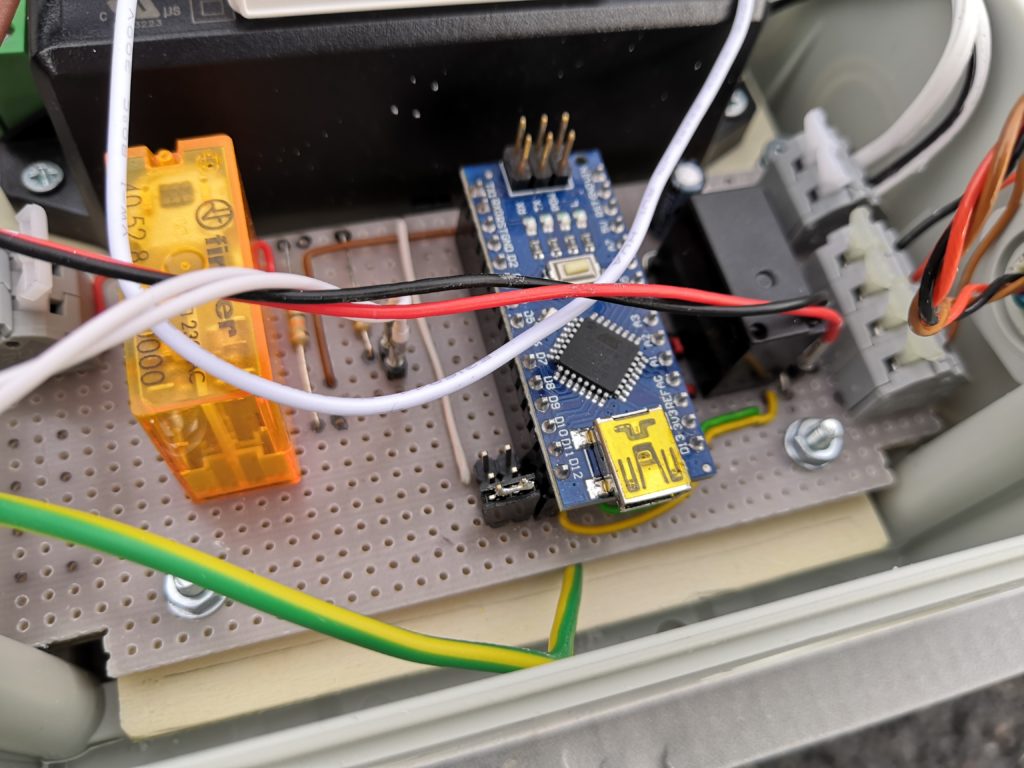
The challenge of this project is that the receiver of the WiFi switch will output 230V AC voltage which needs to be somehow recognized by the Arduino. I decided to use a 230V relay which switches a digital input (D6) of the Arduino. On a second digital input (D3), I attached the normal pushbutton, which will be mounted in the cover of the housing. Both digital inputs have also an external pulldown resistor of 10k ohm attached.
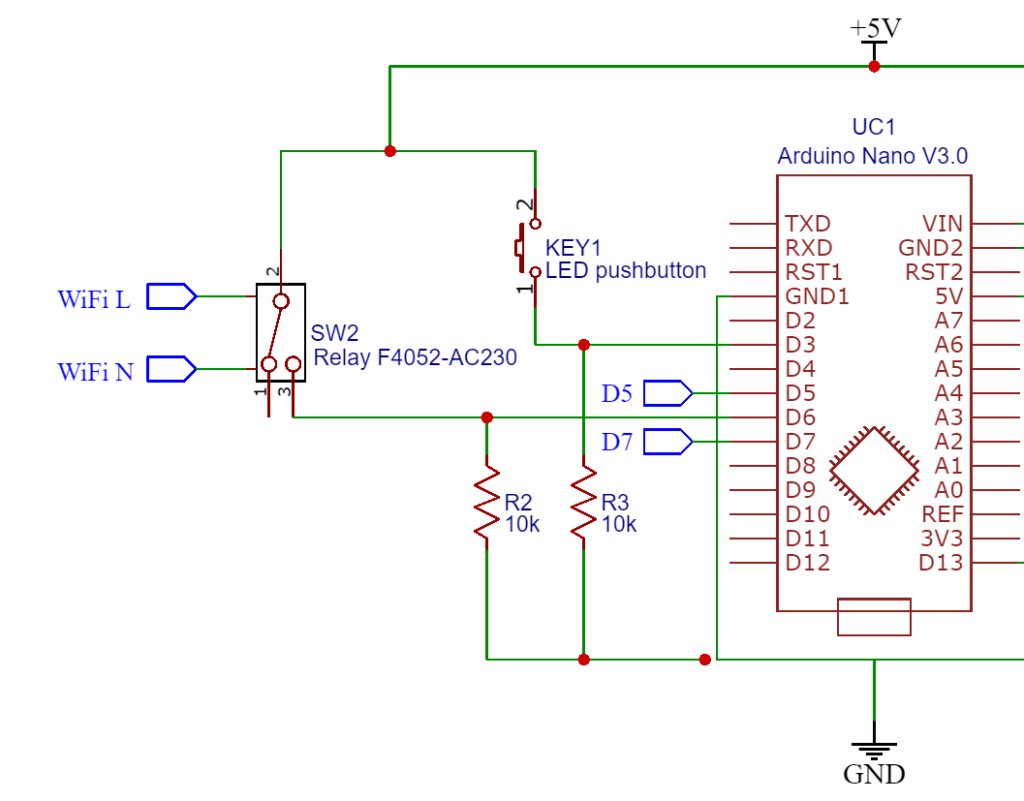
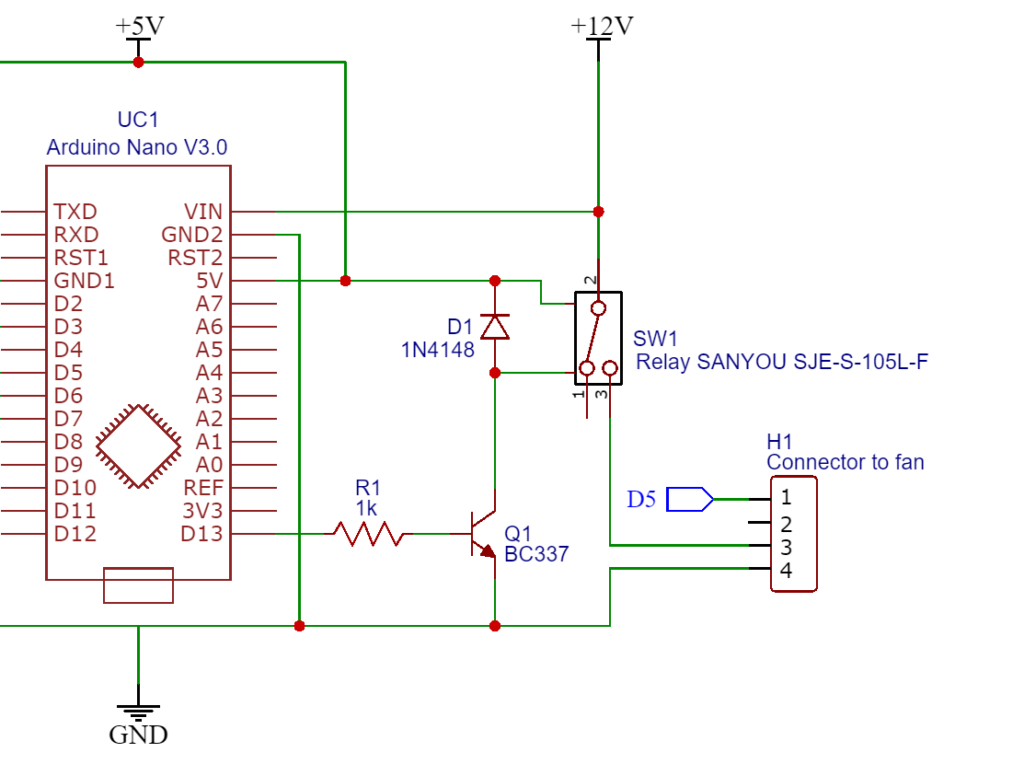
To switch on and off the fan, which needs 12V DC voltage I use a small relay. Due to the high current, it is not recommended to connect the relay directly to a digital output pin of the Arduino. I used therefore the common circuit with a simple NPN bipolar transistor BC337 and a 1k ohm resistor at the base pin. Please note also the flyback diode across the inputs of the relay to prevent huge voltage spikes from arising when the relay turns off. The fan speed is controlled via an external 5V PWM signal which I provide directly from the Arduino.
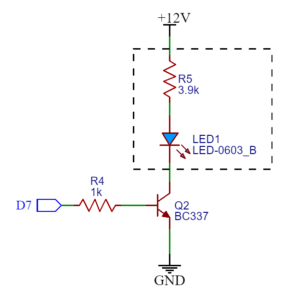
I used a second transistor to control the LED of the pushbutton. the circuit for pretty straight forward:
The whole schematic looks like this:
The build process
I captured the buildup process as video time laps:
By viewing the video, you agree that your data will be transmitted to YouTube and that you have read the privacy policy
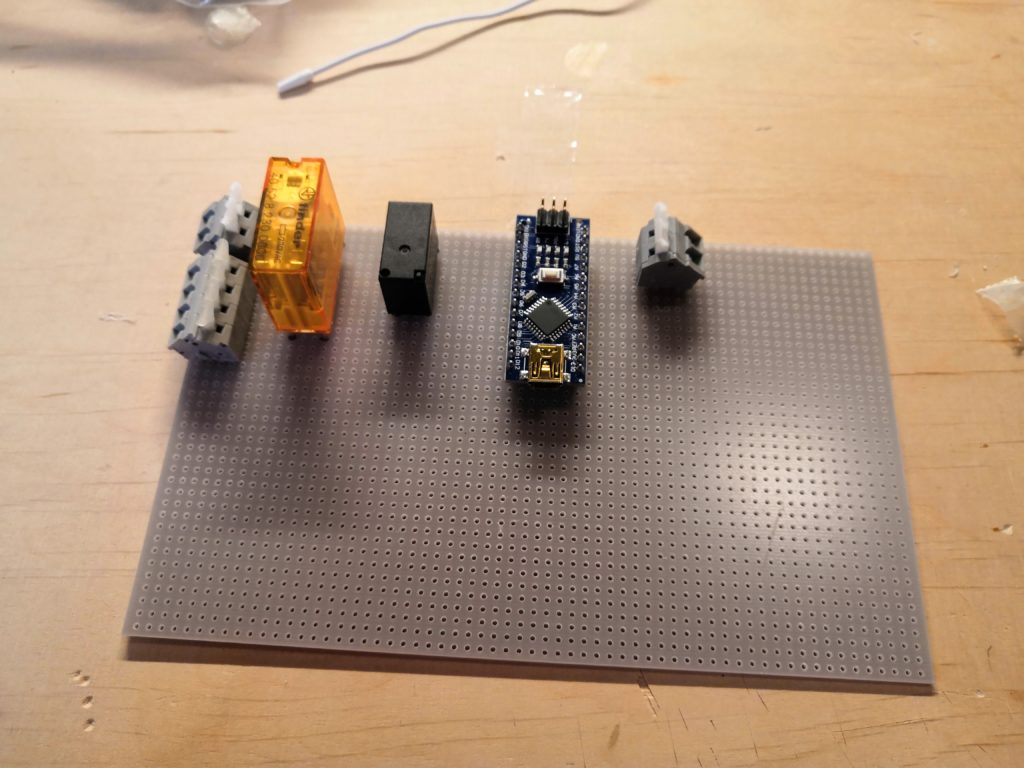
- Cut a wooden board to mount all components on it.
- Paint the housing, so that it looks nicer :).
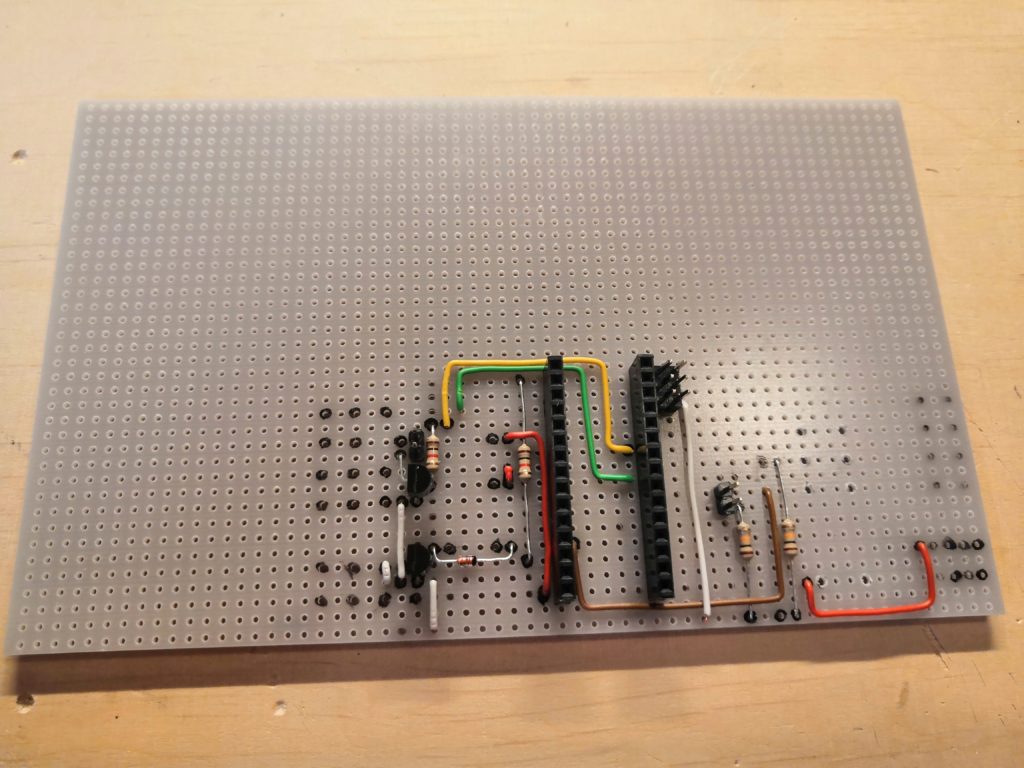
- Prepare PCB, break the copper lines.
- Soldering the PCB (beginning with components of lower height like cables and resistors).
- Mounting PCB and power supply on wooden board.
- Connect PCB to the power supply.
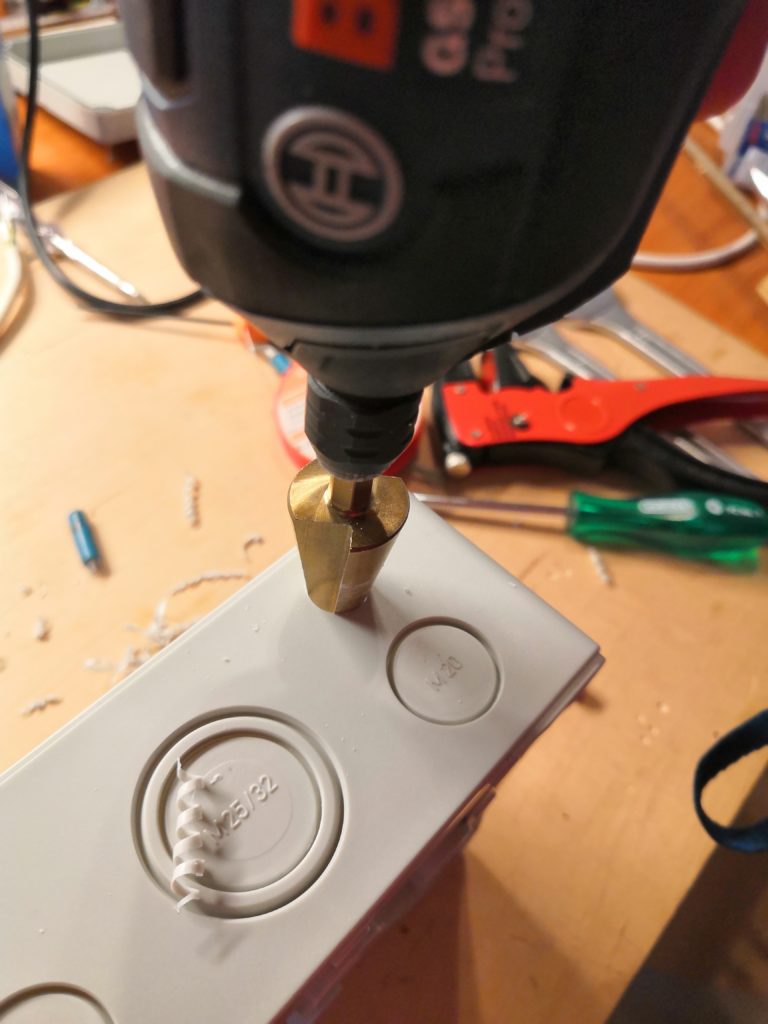
- Drill holes into housing for cables and pushbutton.
- Mounting wooden board into housing.
- Close the housing.

Software
The software for the Arduino is pretty simple. I just need to react on a pushbutton press and implement the state machine with three states (INTENSE, MEDIUM, OFF). No special libraries are needed for that task. You can find the source code on GitHub.



0 Comments