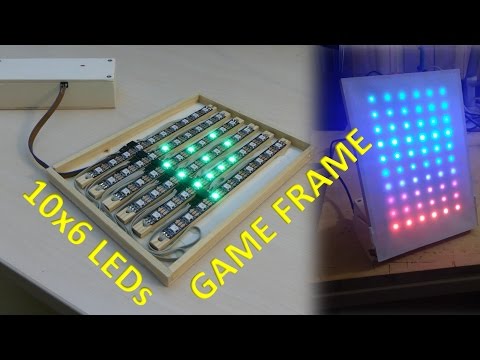
I built a 10×6 LED-Matrix with the great RGB LEDs WS2812B. The whole matrix is controlled only by one pin of an Arduino Nano V3.0.
I integrated Bluetooth functionality to change the running text from the smartphone. The housing is made of plywood.
By viewing the video, you agree that your data will be transmitted to YouTube and that you have read the privacy policy
Parts
I used the following parts in this project:
| 1M RGB LED WS2812B 60 LED/meter (amazon.de*) | ~ 10 Euro |
| 1x Arduino Nano V3.0 (amazon.de*) | ~ 7 Euro |
| 1x Bluetooth Module HC-05 (amazon.de*) | ~ 7 Euro |
| 1x Power supply 5V 3A (amazon.de*) | ~ 10 Euro |
| 1x DC power jack 5.5×2.1 (amazon.de*) | ~ 3 Euro |
| 1x Capacitor 1000μF | – |
| 1x Resistor 470Ω | – |
| some wires | – |
| Plywood sheets | ~ 2 Euro |
| Total | ~ 30 Euro |
Circuit
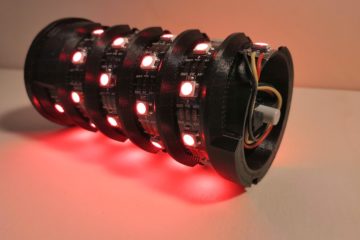
The electric circuit is pretty simple. I just split the led strip into six parts and connect the ending to each other (see picture below).
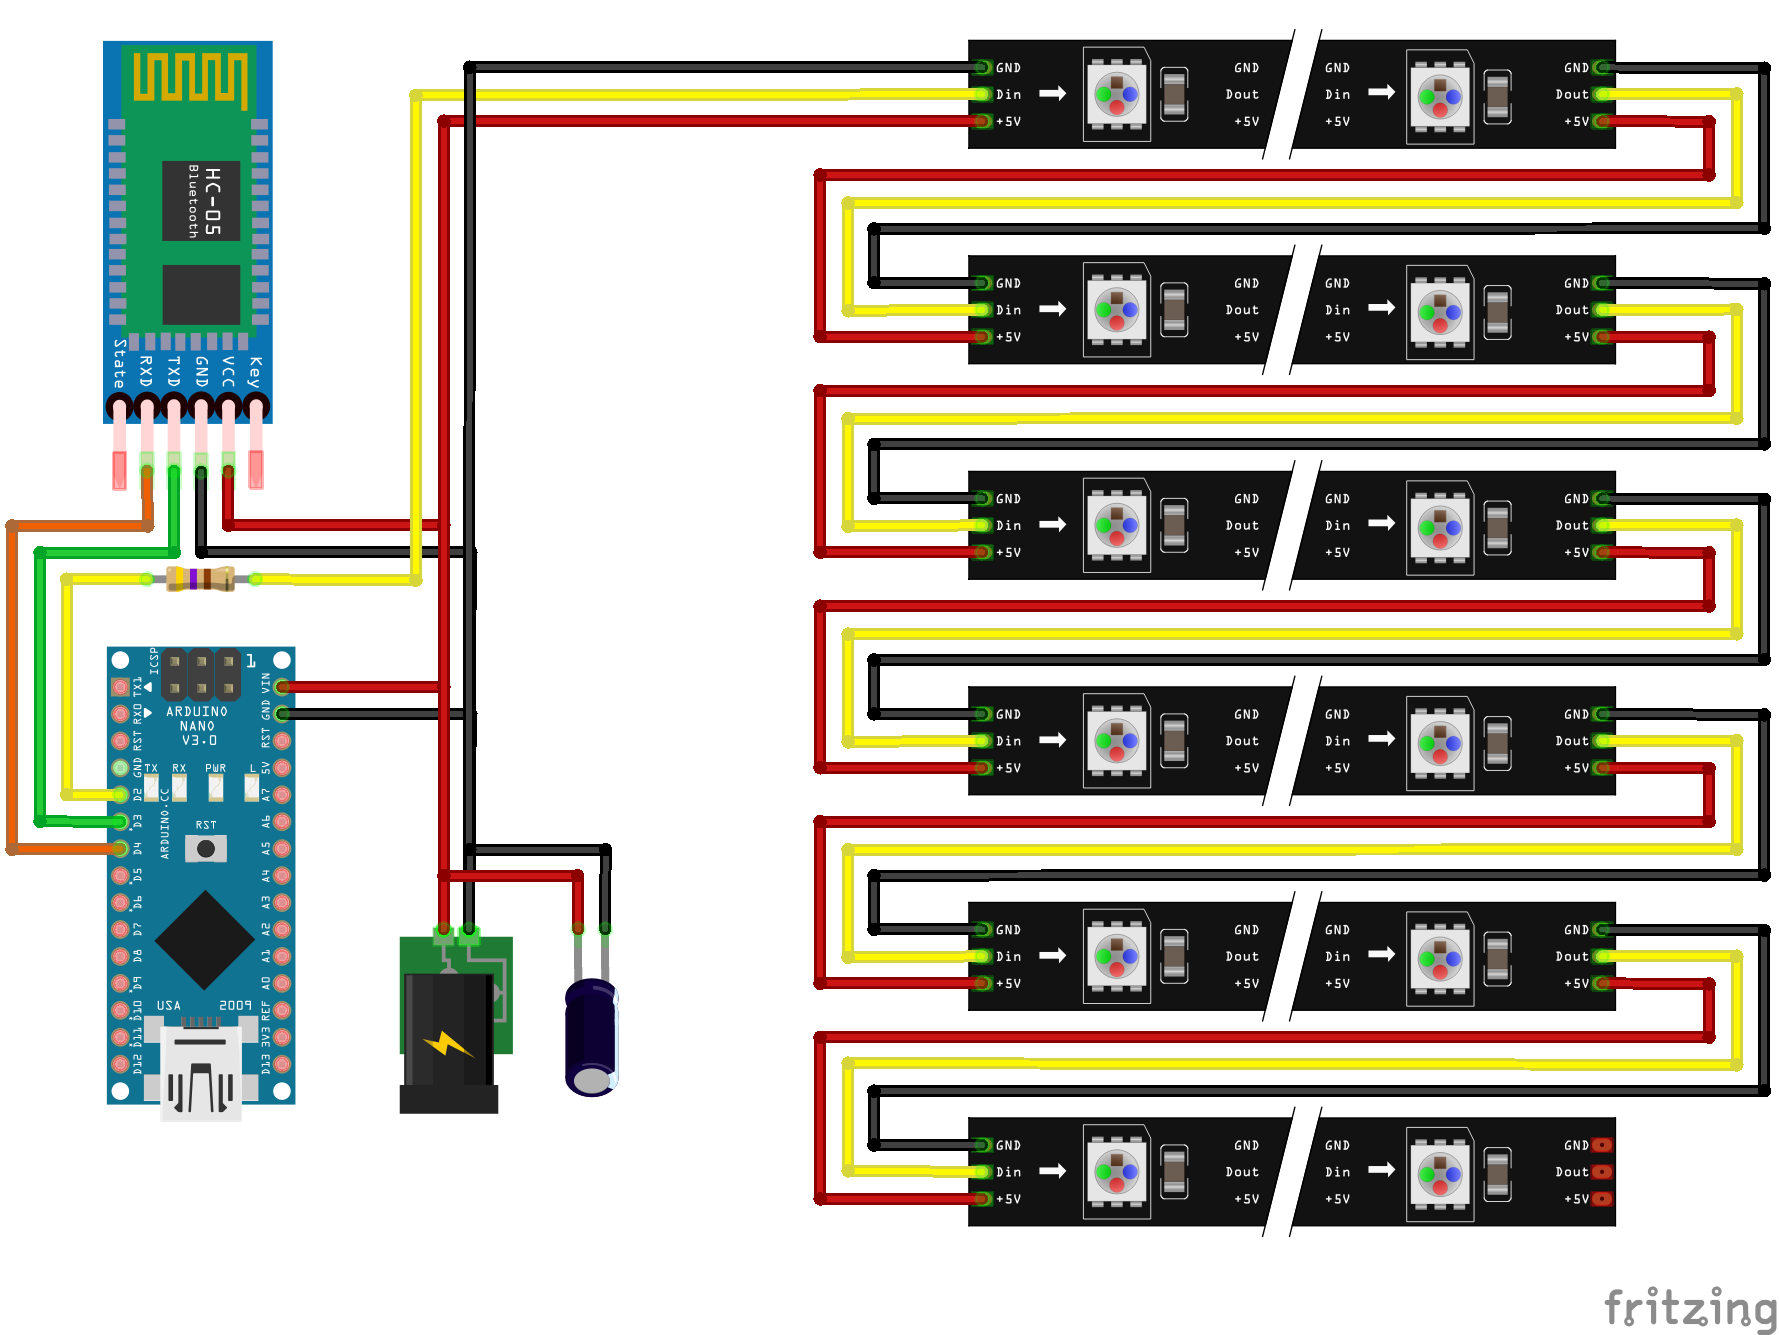
You can also see the 100μF capacitor and the 470Ω resistor which protect the LEDs. In the original LED matrix I also add a switch to turn off the power, but this is not necessary.

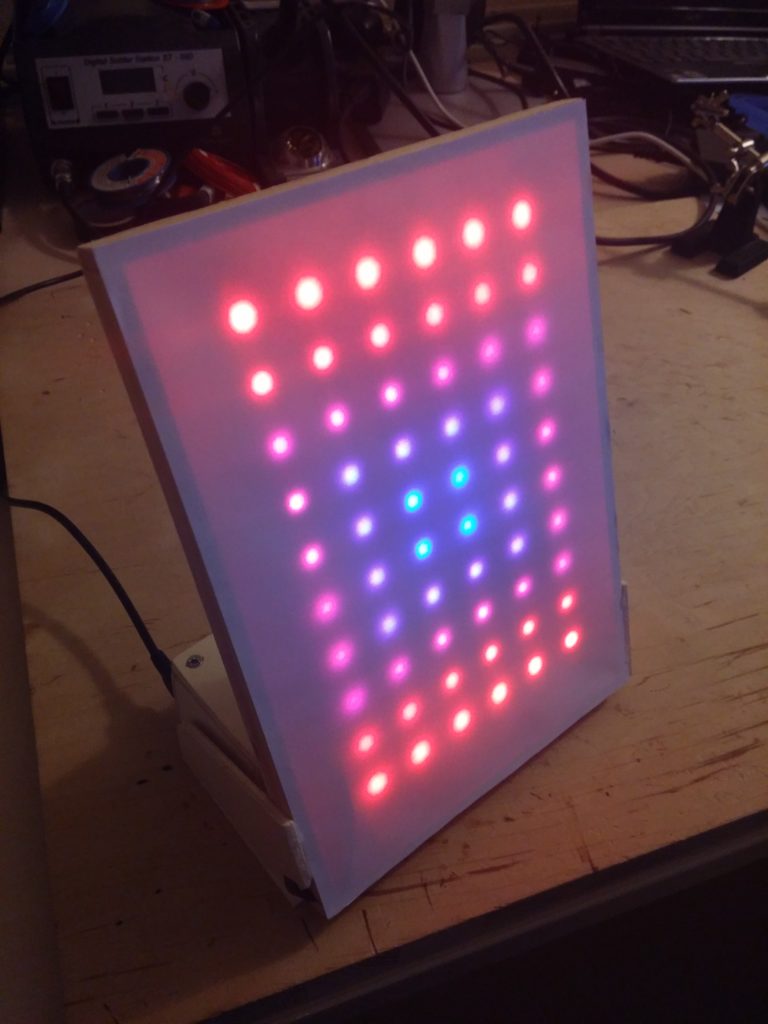
The housing is made of plywood painted later with black paint.
Code
I use three libraries from Adafruit to control the LEDs:
If you don’t know how to install libraries in the Arduino IDE, you can follow this guide.
I implemented this following seven functions:
- vertical color gradient from top to bottom
- square color gradient from inside to outside
- scrolling text from right to left
- random Tetris show
- random snake show
- colored spiral
- crossing lines
You can find the whole Arduino source code on my GitHub repository: https://github.com/techniccontroller/LED-Matrix_WS2812B
For changing the text I wrote a small Android App, but you can probably use any other Bluetooth app too. You just need to send the following string to the Bluetooth module:
newHello World!
to show the text Hello World! on the LED-Matrix.
The first three letters (“new”) will be cut off in the Arduino code.
Here is a nice tutorial on how to write your own app: https://examples.javacodegeeks.com/android/core/bluetooth/bluetoothadapter/android-bluetooth-example/
* The links are affiliate links. The offers do not come from me, however, I receive a commission through the reference, if then a purchase takes place, but without you incurring additional costs.
12 Comments
Ravi kumar Gupta · 29/07/2018 at 5:10
Thank you for your project
my all problem is solve
Ravi kumar Gupta · 28/07/2018 at 10:41
this is problem is solve
Ravi kumar Gupta · 28/07/2018 at 10:40
hello in this project we send command through bluetooth text is scrolling on pixle but problem is that when power is cut or when we restart the arduino text is not appear
can you solve this problem
Ravi kumar Gupta · 28/07/2018 at 8:56
hi if i want to add more text through bluetooth is it possible to run all the text
Hugo · 20/06/2018 at 12:55
Hello
First of all, congratulate him on the project, excellent tutorial.
I have a problem with the arduino code, I do not have much experience in arduino and I can not find a way to solve it.
I followed the tutorial, with the bookstores of adafruit and the caught one.
But when trying to compile the code I get the following error.
“LEDmatrix_V2: 28: error: ‘matrix’ was not declared in this scope
matrix.Color (255, 128, 0),
^
LEDmatrix_V2: 29: error: ‘matrix’ was not declared in this scope
matrix.Color (0, 128, 0),
^
LEDmatrix_V2: 30: error: ‘matrix’ was not declared in this scope
matrix.Color (0, 0, 255)
^
exit status 1
‘matrix’ was not declared in this scope ”
If you could help me solve it, I would be very grateful.
regards
Techniccontroller · 23/03/2019 at 20:12
A bit late, but fixed now on GitHub 🙂